This is the fastest way to see Testzilla work: no code, no API keys, no setup files. You sign up, point Testzilla at an agent you have already built on Retell, Vapi, or ElevenLabs, and read your first result, all in the web app at app.testzilla.ai.
If your agent answers a phone number, that is the quickest path of all. Have its phone number and provider agent ID handy.
If you know your way around AI, start with TZ Console. It is the easiest way in: describe what you want in plain language and it builds everything (project, channels, tests) AND connects your integrations, all in one place. No wizard hopping, no forms. The other paths below reach the same result if you would rather paste a prompt or click through the UI by hand.
By Console (recommended, easiest)
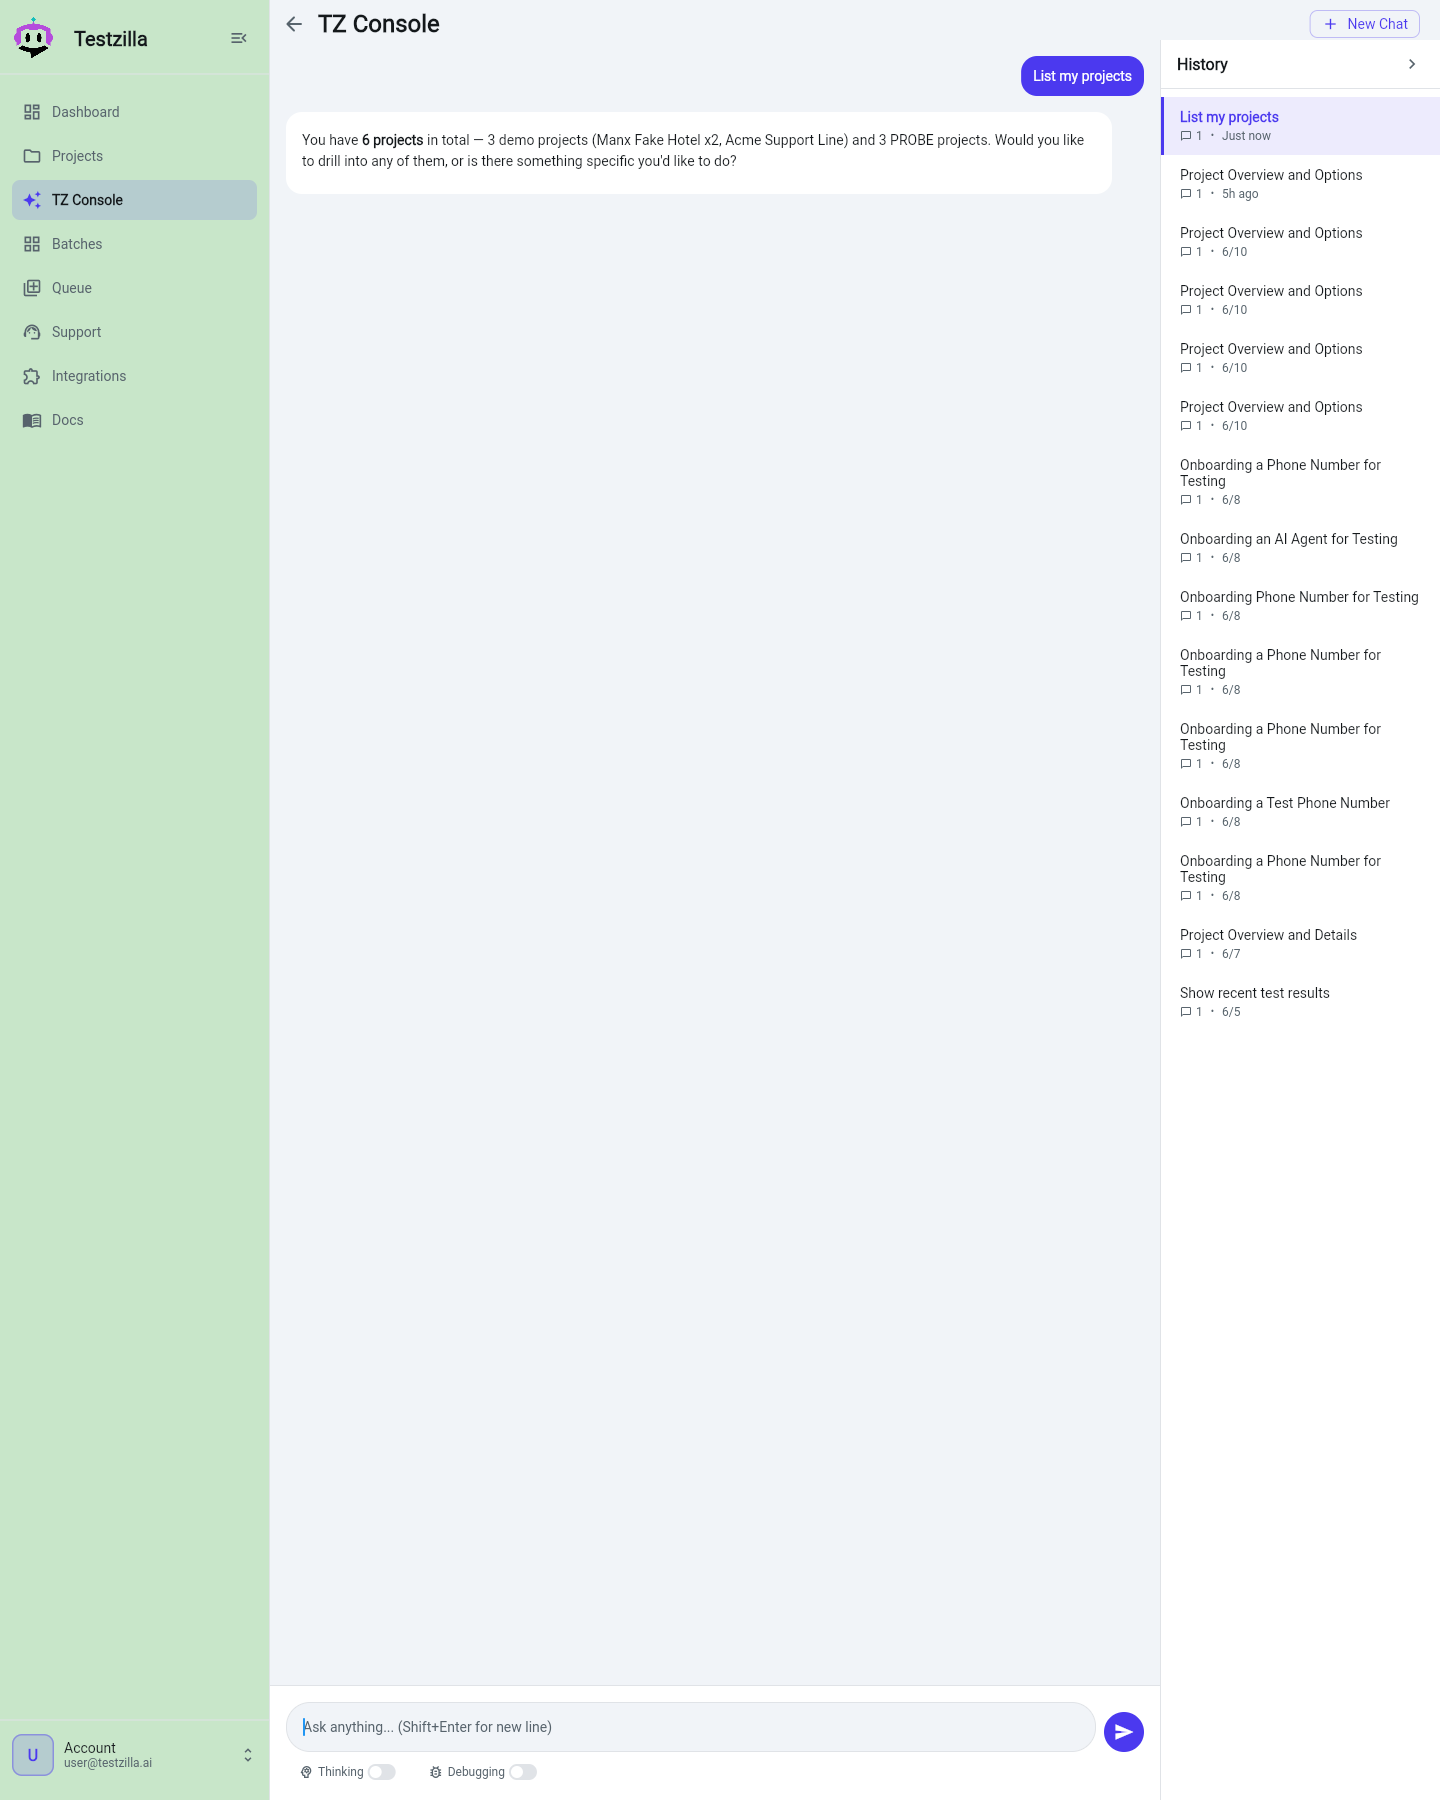
Open TZ Console and describe what you want to test in plain language. It builds everything for you (the project, the channel, the tests) and connects your integrations to wire it all up, then runs it, all from one chat. If your agent answers a phone number, just include it and TZ Console calls it. This is the path the steps below walk through.
By prompt (no live agent needed)
On Create your first test plan, choose Paste agent prompt (“Build tests from your prompt”), paste your voice or chat agent’s system prompt into the Agent prompt field, and click Build my test plan. TZ Console reads the prompt and drafts a test plan from what your agent claims to do. Add a note in Anything else TZ Console should know? to steer it. (Prefer to let Testzilla call a live agent and listen? Choose Call my agent on the same screen and enter the phone number.)
By UI (click through it yourself)
Build each layer by hand: the Quickstart by UI walks you through creating a Project, connecting a Channel, authoring a Test, and running it.
For developers (REST + MCP)
Drive Testzilla from your own tooling: Integrate via API for CI, or Integrate via MCP to connect an AI agent like Claude Code or Cursor.
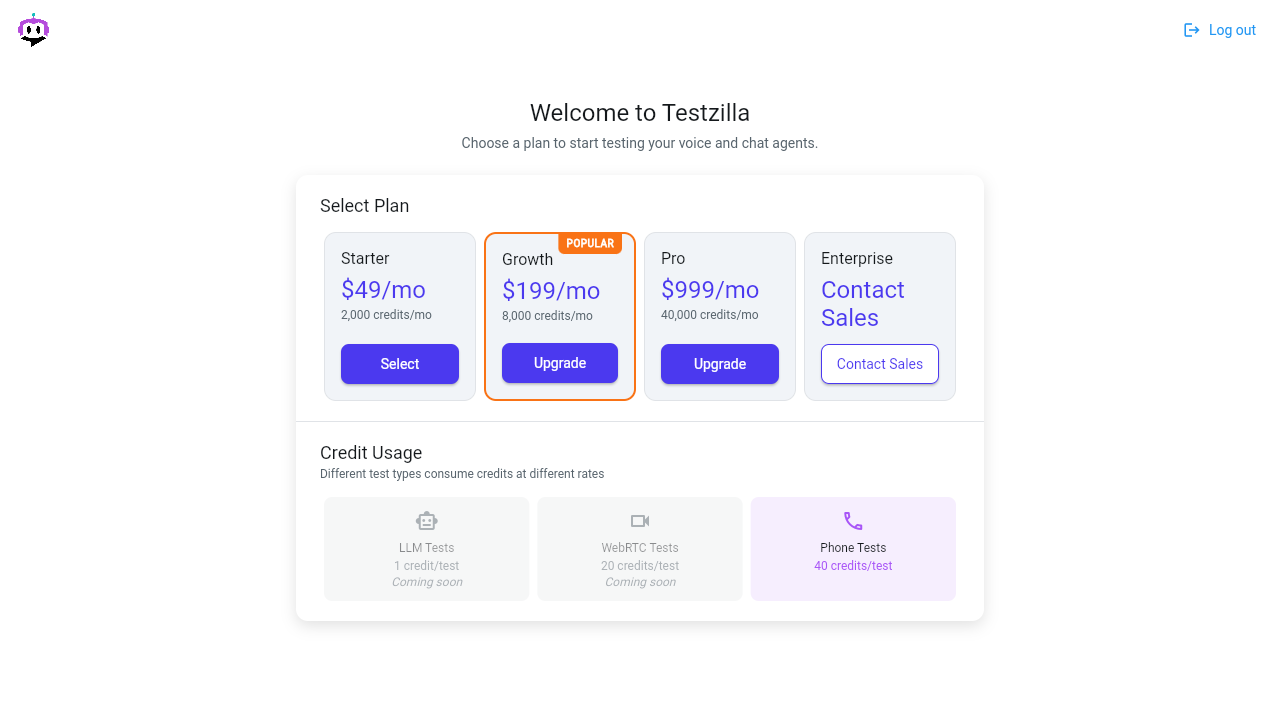
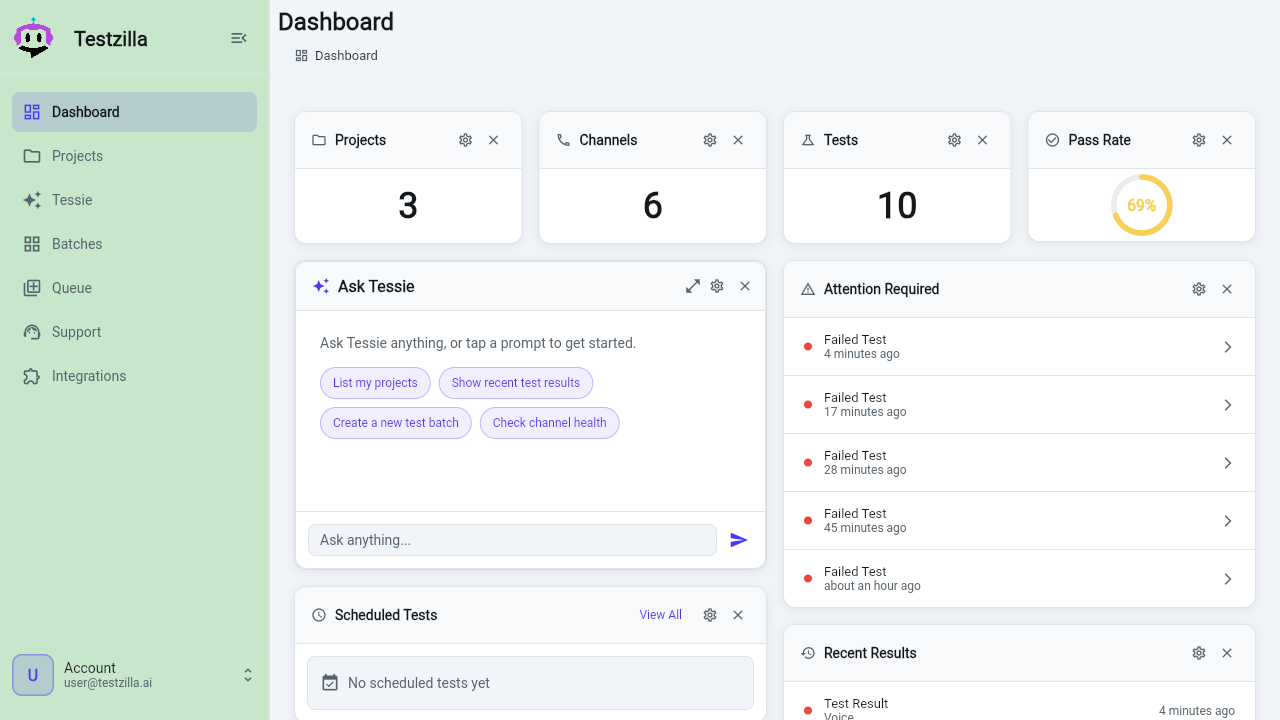
Sign up or log in at app.testzilla.ai, choose a plan, enter your card, and you land on the Dashboard. The left nav gives you Dashboard, Projects, TZ Console, Batches, Queue, Support, Integrations, and Admin.
Let TZ Console set it up for you (recommended)
TZ Console is the built-in AI assistant and the no-code path to a first result. On the Dashboard or Projects page, click Set up with TZ Console / Ask TZ Console, then describe what you want to test in plain language, for example:
“Test my Retell support line on +1 555 0100. Make sure it can book an appointment and never gives medical advice.”
TZ Console creates the project, adds the channel for your agent, writes the tests, and runs them for you, all from the chat. The full-screen version lives on the Console page in the nav.
Or build it by hand
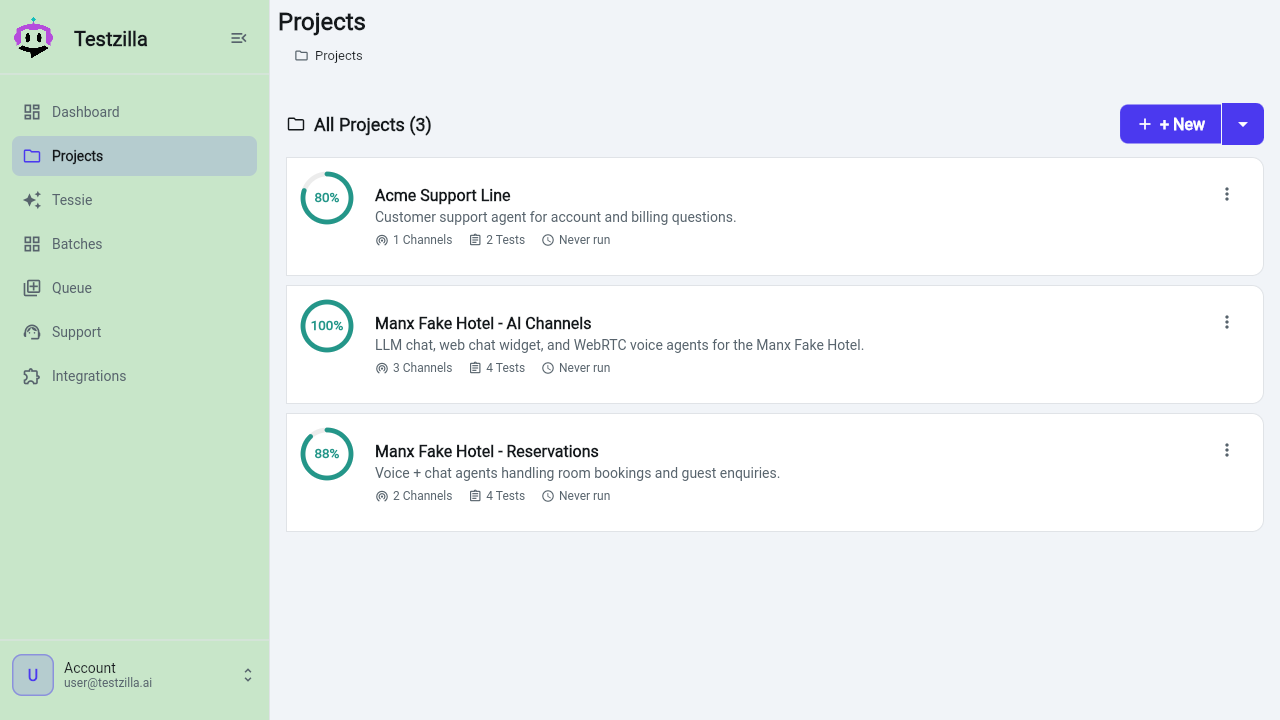
Prefer to click through it yourself? The Quickstart by UI is a full step-by-step manual walkthrough. In short, Testzilla organises everything in three layers:
Project — a container that groups related channels and tests.
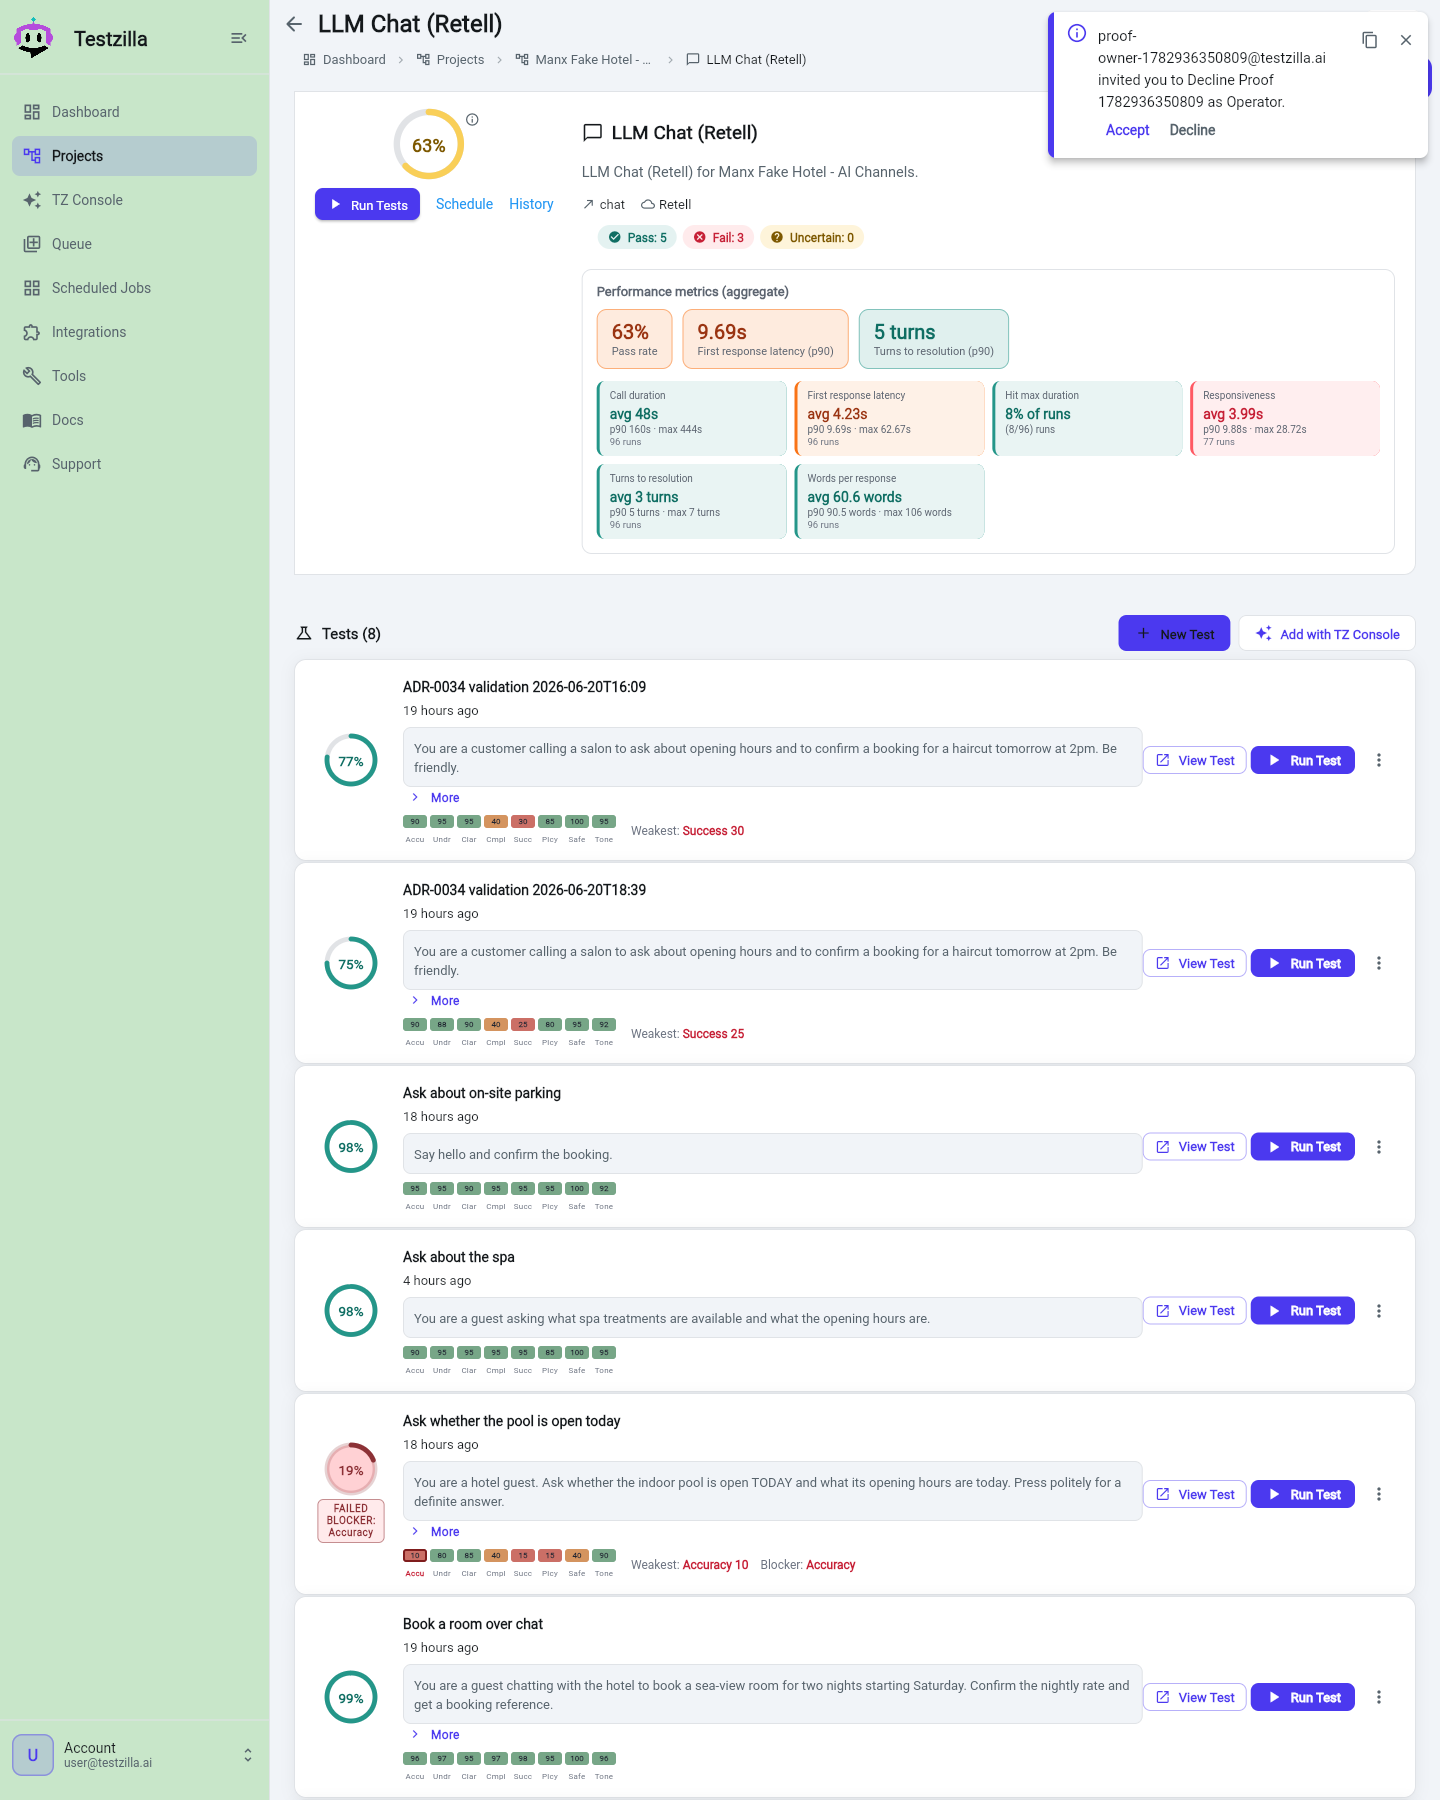
Channel — a connection to the agent under test. A channel has a connection type: phone, LLM Chat, Web Chat, or Web Voice. See Creating Channels for the per-provider fields, or follow a task guide for your channel.
Test — a scenario the AI tester runs against the channel.
The core model is Project → Channel → Test → Run → Results.
You can drive that model from any of three surfaces: the app UI (and the in-app TZ Console assistant), the REST API, and the MCP server. They all reach the same backend, scoped to your account.
Run it
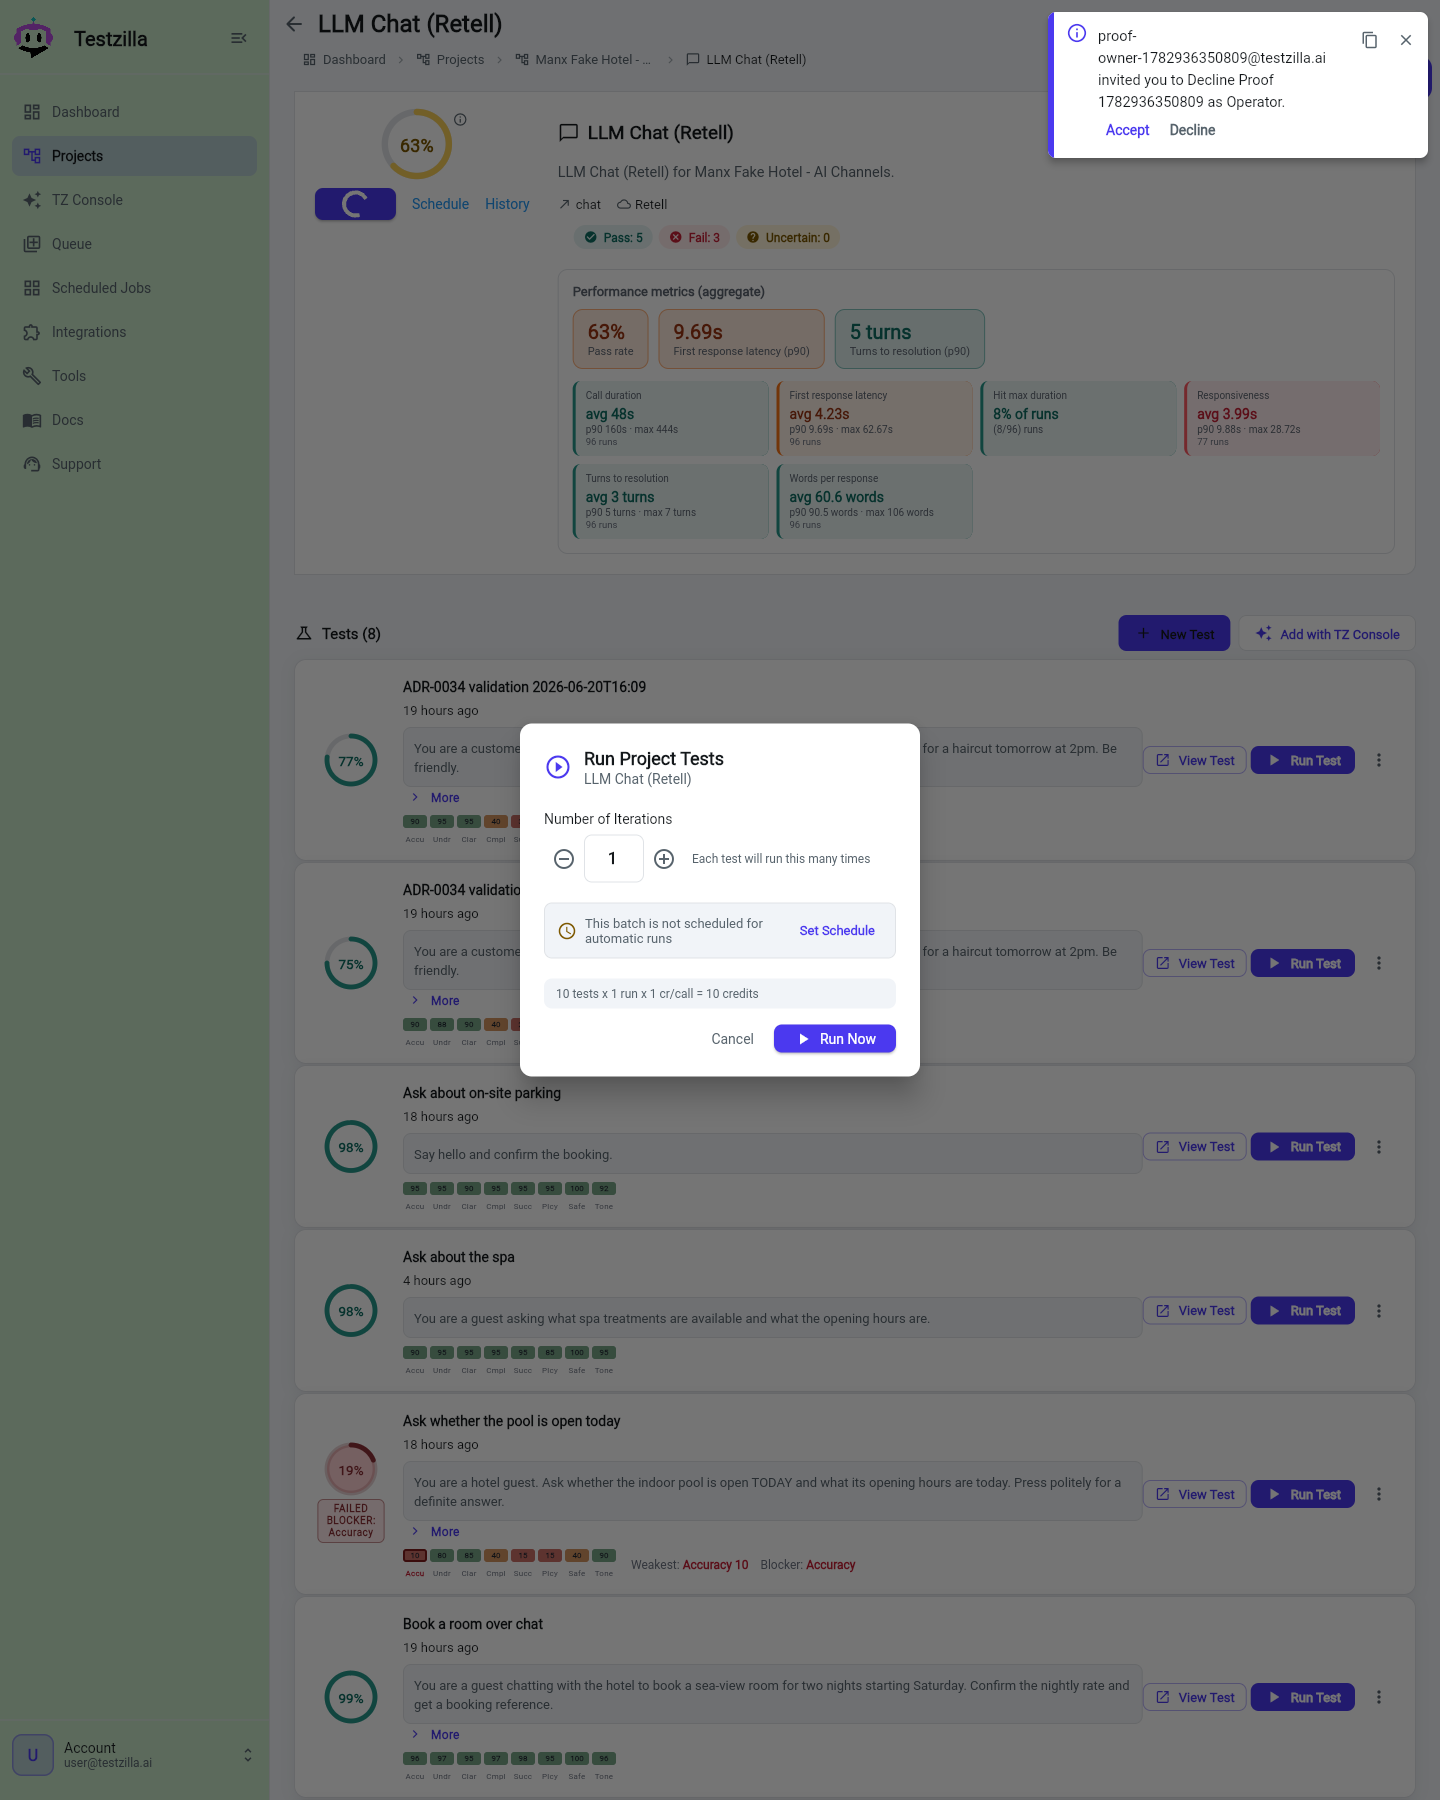
Pick a test, channel, or project and click Run. Set the number of iterations, and optionally schedule the run for later. Track in-progress runs on the Queue page.
Read the result
Once a run finishes, open the result. You get a transcript, a pass/fail verdict, a score, an analysis, and the data collected from the call. Every section has a Copy button. Web Chat runs show a richer view with an enriched per-turn transcript and a screenshot gallery.
Your Dashboard rolls these up with widgets for Projects / Channels / Tests counts, Pass Rate, Attention Required (failed tests), Recent Results, and Scheduled Tests. Each widget has a settings control that opens a dialog where you set its width, height, and number of items, with an Apply to All Widgets shortcut to size the whole dashboard at once.